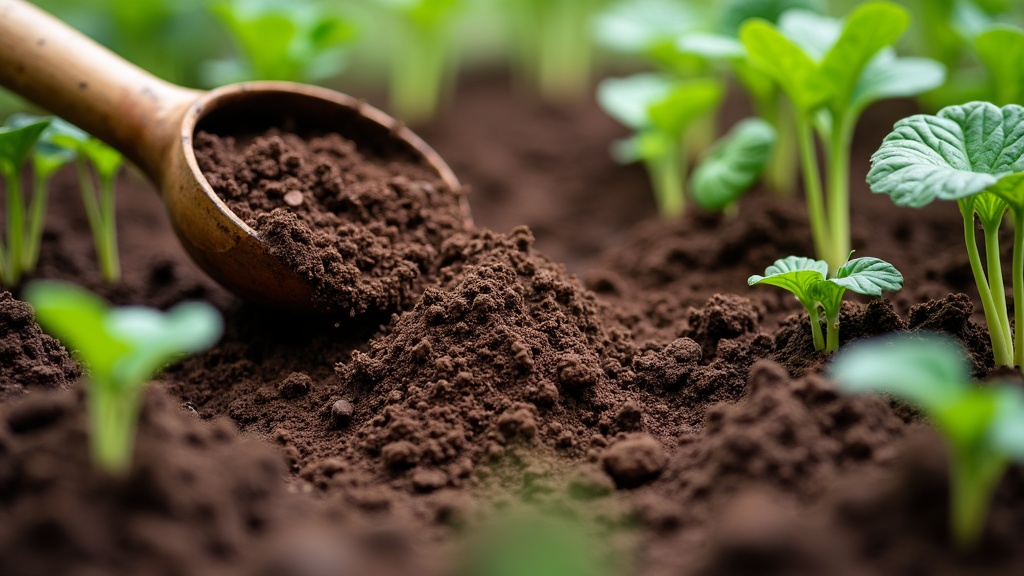
Getting your soil ready for a vegetable garden makes a big difference in how your plants grow and how much you can harvest. Good vegetables start with good soil. It’s worth taking a little extra time before planting to set up the best foundation possible. After a few years of trial, error, and some big vegetable wins, I’ve checked out a few hacks and routines that pay off big time. Here’s how I handle soil prep to boost my harvests.

Why Soil Prep Matters For A Vegetable Garden
The kind of soil you start with can make or break your veggie garden. Healthy soil packs in nutrients, holds the right amount of water, and lets roots spread with no trouble. If your soil’s too hard, sandy, or thin on organic material, you’ll see it in slow growth, yellowing leaves, or disappointing harvests. A little work up front saves frustration down the road.
About 95% of the nutrients plants need comes straight from the soil (source: USDA NRCS). So getting it right means healthier, tastier, and even pest-resistant vegetables. Over time, regularly amending and caring for your soil builds up its ability to help your plants thrive season after season.
Know Your Soil: The Basics
Before doing anything else, I like to get a sense of what’s actually out there in my garden beds. Not every yard starts out the same, so checking what’s under your feet saves effort and helps you choose what to fix or add to.
- Clay soil: Feels sticky and clumps together. Holds moisture, but can drain poorly and get compacted.
- Sandy soil: Feels gritty, drains water super fast, but doesn’t hold nutrients very well.
- Loamy soil: Usually soft, crumbly, and dark. This is what I try to aim for since it’s just about right for most vegetables.
Doing a simple jar test (where you shake up some soil with water and let it settle) or using a basic soil test kit from the garden center gives you quick answers. I usually check for pH (acid or alkaline), basic nutrient levels, and texture.
The Main Steps To Preparing Your Vegetable Garden Soil
Remove Weeds, Grass, and Debris
Step one every time: get rid of weeds and any grass where you want your vegetable patch. Old roots, sticks, and rocks also get in my way later, so it’s best to clear them out now. For thick grass, I usually cut it short, then lay out sheets of cardboard to smother what’s left, which keeps weeds from popping up during planting.
Loosen and Turn The Soil
Digging and loosening soil helps roots spread and lets water soak in easier. I prefer a garden fork or shovel for this, working down about 8-12 inches. If your soil is hard clay or packed down from foot traffic, you might need to spend a bit more time on this step. For larger plots, renting or borrowing a rototiller can make things a lot easier, but I find a sturdy fork works fine for averagesized beds.
Add Organic Matter
Adding lots of compost, wellrotted manure, or aged leaf mold is my goto move. These give a boost to the soil’s texture, waterholding ability, and nutrients. I usually spread a 2-3 inch layer over the bed and gently mix it in. Don’t worry if you don’t have your own compost pile (yet): bagged compost from the store works too. Over time, regularly adding organic matter is a super reliable, loweffort way to keep soil in good shape, even with heavy feeders like tomatoes and squash.
Test and Balance pH
Most veggies do best at a slightly acidic or neutral pH (about 6.0 to 7.0). If your soil is too acidic, adding garden lime helps. If it’s too alkaline, sulfur or peat moss might help nudge it back into the happy zone. Local extension offices usually test soil pH for a small fee, but most home test kits give a good enough reading for basic gardening.
Add Fertilizer If Needed
I’m a fan of slowrelease organic fertilizers like bonemeal, bloodmeal, or a balanced granular blend for vegetable gardens. Sprinkling it on before planting means new seedlings get a gentle, steady supply of nutrients. Always check the label and go easy. Too much synthetic fertilizer stresses plants and can harm soil life.
Rake And Settle The Beds
After adding everything, I use a rake to smooth out the beds and settle the surface. This helps get rid of big clumps or air pockets where seeds or roots won’t sit right. If I have time, I like to let prepared beds sit for a week or two so worms and microbes get a head start breaking everything down, making it easier for young roots to take off.
Extra Tips For Specific Soil Problems
- Heavy Clay? Mix in coarse sand (not fine playsand) and a lot of compost to lighten it up. Planting cover crops like clover over the winter helps loosen and enrich clay, too.
- Sandy Soil? Add as much compost or rotted leaves as you can find; these help the ground hold water and nutrients. Adding mulch on top cuts back on evaporation.
- Compacted Soil? After loosening, avoid stepping in the beds as much as possible. I use stepping stones or boards while working to spread out my weight.
Things Worth Considering Before Planting
- Drainage: Soggy soil or standing water spell trouble for veggies. If you have heavy, wet soil, building raised beds a few inches above ground level is a quick fix.
- Soil Life: Worms and tiny microbes are a gardener’s secret weapon. They break down organic matter and release plant food. Using organic mulches, avoiding harsh chemicals, and rotating crops help these critters stick around.
- Timing: Working wet soil compacts it. Wait until it’s crumbly and just barely moist to start digging. I do the “squeeze test”; grab a handful and if it crumbles instead of forming a mud ball, it’s ready for planting.
A Real-Life Example From My Backyard
My first year trying to grow carrots was rough. They grew stunted and all weirdly shaped. When I checked, my soil was super tough and clayheavy. The next year, I worked in two bags of compost and some sand. The improvement was almost instant. The carrots grew long, straight, and much sweeter. Just goes to show, even small soil changes make a difference in how well your veggies grow.
Frequently Asked Questions
I see the same garden soil questions pop up again and again, so here are straightforward answers to a few that helped me:
How Much Compost Should I Add?
Aim for 2–3 inches mixed in before each new planting season. Soils low in organic matter can handle more.
Can I Use Fresh Manure?
It’s better to use manure that’s fully rotted or aged at least six months. Fresh manure can burn plants and spread pathogens, so it’s safer to wait.
How Often Should I Test My Soil?
Once a year is usually enough. Anytime plants look “off” or you try growing new crops, a quick test is worth it.
Extra Tricks That Make A Difference
Mulching after planting keeps the soil from drying out and slows weeds. Shredded leaves, straw, or even untreated grass clippings work great. Cover crops (like rye, clover, or vetch) planted in the offseason boost soil health and are easy to turn in next spring. These small habits add up over time to richer soil and easier garden upkeep.
Don’t stress about getting everything perfect from the start. Even small boosts, like a layer of compost or switching to raised beds, pay off quickly. Each season you work on your soil, the better your harvest gets. Homegrown veggies taste sweeter when you know you built it from the ground up. Happy gardening and good luck with your next crop!
Dig In Further: More Ways To Pump Up Your Garden Soil
If you’re looking to really take your gardening game up a notch, try adding earthworms to your garden beds; they naturally aerate soil and leave behind castings that are nutrient-rich. Planting companion flowers like marigolds or nasturtiums along the edge of your beds not only attracts pollinators but also helps fend off certain pests. For extra hard or thin soils, double-digging (loosening two layers instead of one) can help roots find their way deeper and grow more vigorously.
Water in the early morning so your soil stays moist throughout the day, which encourages strong root growth. Rotate your vegetable crops each year to prevent disease and give your soil a break from heavy feeders. If you have the chance, let a plot rest and grow a green manure crop like buckwheat or clover for a season. Turning that lush growth back into the soil gives nature a chance to help you out, and pays off with easier planting later on.
Keeping a simple garden journal—just notes on what you added to your beds each year, what worked, and what the weather was like—pays off when you want to repeat your best results. Don’t be afraid to experiment; your garden soil will keep getting better the more you learn. So, grab your tools, dig in, and make this season’s harvest the best one yet.
