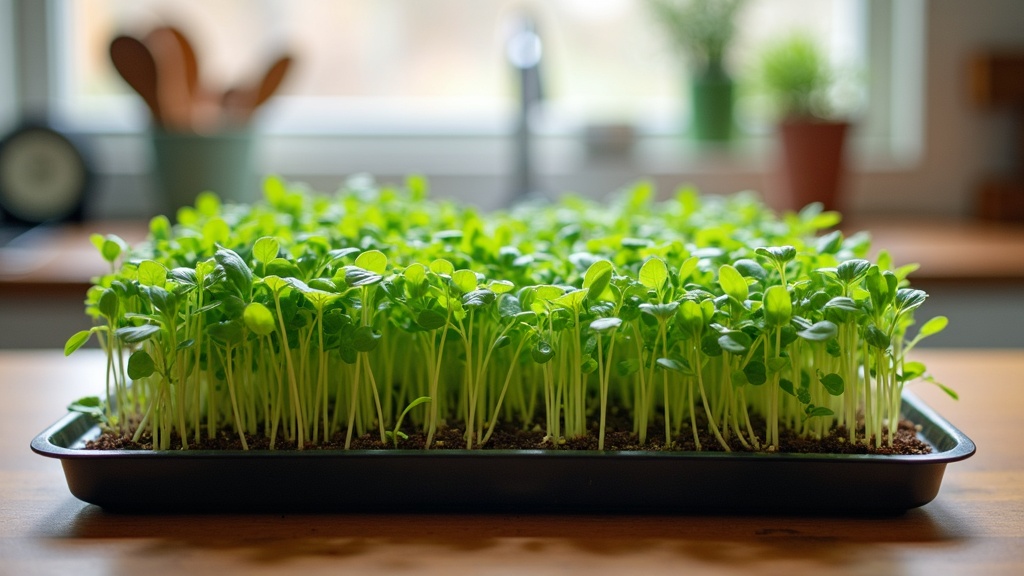
Growing microgreens at home without soil is a surprisingly easy way to get fresh, nutrient-packed greens right on your kitchen counter. I’ve always loved being able to snip off a handful of crunchy shoots for salads and sandwiches, and you don’t have to deal with messy dirt to make it happen. If you’re short on space or just want something low maintenance, this method is a total win. Here’s what you need to know to get started, keep your greens thriving, and enjoy a steady harvest, all without ever touching a bag of potting mix.
Why Grow Microgreens Without Soil?
Microgreens are packed with flavor and nutrients, but growing them the traditional way with soil can get a little messy, especially indoors. The soil-free approach is a neat option that relies on water, light, and a growing medium such as a bamboo mat, coconut coir, or even simple paper towels. Lots of people (myself included) prefer soilfree growing because:
- Clean-up is easier: There’s no dirt spilling or muddy trays to tackle, just compost or rinse your growing mat after harvest.
- Less chance of pests: Soil sometimes brings fungus gnats or other bugs. Without it, you dodge most of those headaches.
- Super convenient for small spaces: You can tuck trays under a window, on a small shelf, or even in a closet with a grow light.
The science also backs up how healthy these greens are. According to a study from the Journal of Agricultural and Food Chemistry, microgreens can contain higher concentrations of vitamins and antioxidants than their mature versions (source). With such impressive nutritional benefits, it’s no wonder more people are turning to soilless methods for their microgreens.
Basic Equipment to Start Soilless Microgreens
Getting started doesn’t require any fancy hydroponic setups. I use a few everyday items and a growing pad—or sometimes just paper towels. You’ll need:
- Seed trays or shallow containers: Old takeout containers, baking trays, or foodsafe plastic trays all work as long as they’re a couple of inches deep.
- Growing medium: Bamboo mats, coconut coir pads, hemp mats, or several layers of clean paper towels.
- Spray bottle: For gentle watering and keeping things moist without overdoing it.
- Microgreen seeds: Not all seeds sprout well without soil, but sunflower, radish, pea, broccoli, and mustard are great options. Make sure you get seeds labeled specifically for microgreens (they’re untreated).
- Light source: A sunny windowsill works for most people, though an LED grow light does the trick if your space is dark.
- Tray cover: Lids or another tray to cover during the initial germination step. This keeps seeds cozy and dark for the first couple of days.
That’s honestly it. Once you have these basics set up, the rest comes down to timing and care. As you experiment, you may want to try different setups, but these items will see you through your first successful crop.
Step-by-Step Guide: How to Grow Microgreens Without Soil
- Prep your tray: Lay the growing mat or fold several paper towels into the bottom of your tray. Dampen it well but don’t let water pool. (I usually give it a few sprays, then tip the tray to check for puddles.)
- Sow the seeds generously: Sprinkle your microgreen seeds evenly across the surface. Don’t bury them, just leave them sitting right on top.
- Mist and cover: Mist again so the seeds are damp, then cover with a lid or another tray to block out light. This helps them sprout evenly and quickly.
- Germinate in darkness: Set the tray somewhere warm (room temp is fine). After two or three days, you’ll see the first signs of growth, tiny white roots pushing out of the seeds.
- Uncover and move to light: Once most seeds have sprouted, remove the cover and move the tray to a sunny spot (or turn on your grow light). Keep spraying one or two times a day to make sure the mat or towels stay moist but not soggy.
- Harvest: When the microgreens reach two or three inches tall and have grown their first set of leaves (usually 7–12 days, depending on the crop), it’s time to harvest. Use scissors to snip just above the mat or towel—super easy!
Common Challenges and How to Handle Them
No technique is totally hassle free, so here’s what I watch out for and how I handle some of the hiccups that pop up while growing microgreens without soil.
- Seed clumping: Sometimes the seeds pile up on each other, which can lead to patchy growth. Tapping the tray gently right after sowing spreads them out and helps with even coverage.
- Mold or mildew: Humid conditions and standing water are the usual culprits. I make sure my tray can drain if needed, don’t overspray, and give trays good airflow. You can use a small desk fan on low if your space is really damp.
- Poor germination: Really old seeds or not enough moisture in the first days can slow things down. I always check my seed packet for the date and double check that my growing medium stays evenly damp. Too much water, though, can be worse than too little.
- Stretching (leggy growth): When microgreens grow tall and spindly, they’re probably not getting enough light. I keep trays as close as possible to the window or under the grow light, about two to four inches away.
Keep Things Clean
Sanitizing trays and tools between grows helps me avoid surprise mold or disease outbreaks. A quick wash with soap and hot water (or even a squirt of vinegar) gets the job done before each new batch. Don’t skip this step, especially if you’ve had mold or any health issues with previous crops.
Tips for Getting the Best Microgreens Indoors
Over several batches, I’ve picked up a few habits that make my microgreens thrive and keep my kitchen tidy.
Rotate the trays: If you’re using window light, spin your trays a quarterturn every day or so. Plants tend to lean toward sunlight, and this little hack keeps growth nice and straight.
Harvest gradually: You don’t need to cut the whole tray at once. I usually start trimming the tallest shoots and let the rest keep growing for another day or two, so I have a fresh supply all week.
Switch up your crops: Once you nail down one variety, try out new ones to track down your favorites for taste and texture. Pea shoots are quite sweet, while radish microgreens pack some spice.
Track moisture: If you’re uncertain about the right moisture, lightly touch the surface each morning. If it feels dry, add a little more water with your spray bottle. This daily check helps prevent both overwatering and underwatering.
Try companion planting: Mix two or three types of microgreens in the same tray for interesting flavors and colors. Make sure their growth times are similar, so you can harvest everything when ready.
Popular Soilless Methods and Materials
Not all soilless growing mediums are created equal, and my results have varied depending on what I use. Here are a few options that work well:
- Hemp and coconut mats: Sustainably made, they hold water well and break down in compost after harvesting.
- Plain paper towels: Easy to find, but be sure to stack enough layers (three to five) so roots get a good grip.
- Bamboo growing mats: Durable and reusable for a few extra rounds, and they support strong root networks.
- Hydroponic felt or foam pads: These might be pricier, but they give very even moisture distribution and make it easy to move the whole mat when needed.
I test a few materials before settling on my preferred medium, just to see what gives me the best results with my particular seeds and water. Sometimes a little experimentation goes a long way in getting a steady, lush crop.
Frequently Asked Questions About Soilless Microgreens
Growing microgreens at home brings up a lot of questions, especially if you’re skipping the soil. Here are answers to some of the ones I get the most:
Question: Can you regrow microgreens after harvesting?
Answer: Most microgreens only grow once. After cutting, the roots don’t regrow new shoots, so I just compost the mat or towels and start a fresh tray.
Question: Do microgreens need fertilizer when grown without soil?
Answer: Most of the time, no fertilizer is needed. The seeds have all the nutrients the young plant needs to sprout. If you’re growing a slowgrowing type or want bigger yields, a super diluted hydroponic nutrient solution can help, but I rarely need it for batches under 14 days old.
Question: What are the best seeds for soilfree microgreens?
Answer: Radish, broccoli, mustards, peas, sunflower, and cress work really well. Avoid beet and Swiss chard for soilless growing; these usually don’t root well without dirt.
Wrapping Up
Bringing microgreens into your home with a soilless method combines convenience, less mess, and fresher meals for almost no effort. I’ve found the biggest win is having greens on hand without making room for garden beds or soil bags. Whether you’re a first-time grower or a seasoned urban gardener looking for an easier way, this method is pretty handy and a lot of fun. Try a tray, experiment with a few seeds, and enjoy those flavorful little greens all year. There’s nothing quite like snipping a fresh bunch for your meal, knowing exactly what went into growing them. Give it a go, experiment across the seasons, and soon you’ll have your own micro supply of healthy greens anytime you want.