Getting soil pH balanced for your container garden is one of those steps that can make a huge difference for your plants. The roots need just the right environment to soak up nutrients efficiently, and pH plays a big role in how well they can do that. If your soil is too acidic or too alkaline, you might notice slow growth, yellowing leaves, or plants looking generally unhappy. I’m here to show you straightforward ways to check, adjust, and maintain soil pH for home container gardening, based on real experience and solid gardening advice.
Why Soil pH Matters in Container Gardening
Soil pH tells you how acidic or alkaline your growing mix is, on a scale from 0 (very acidic) to 14 (very alkaline), with 7 being neutral. For most vegetables, herbs, and flowers grown in containers, a slightly acidic to neutral pH, usually around 6.0 to 7.0, is ideal. This pH range helps roots get the nutrients they need and supports healthy microbial activity in the soil. It’s also important for nutrient absorption, which in turn keeps your plants vigorous.
Plants like blueberries, azaleas, or rhododendrons often do better in more acidic soil, around pH 5.0-5.5, while others, like lavender, prefer it a bit more alkaline. Knowing your plant’s preference pays off. But for most common edible and ornamental container plants, hitting that sweet spot of 6.0 to 7.0 pH is the most reliable starting point. This range also lays the groundwork for mixing companion plants with similar needs in the same container, which can help you get more out of limited space.
Simple Ways to Test Your Container Soil pH
Testing soil pH in containers is actually pretty easy, and you have a few good options:
- Soil Test Strips: These are inexpensive and quick. Just mix some soil with water, dip the strip in, and compare the color to the chart.
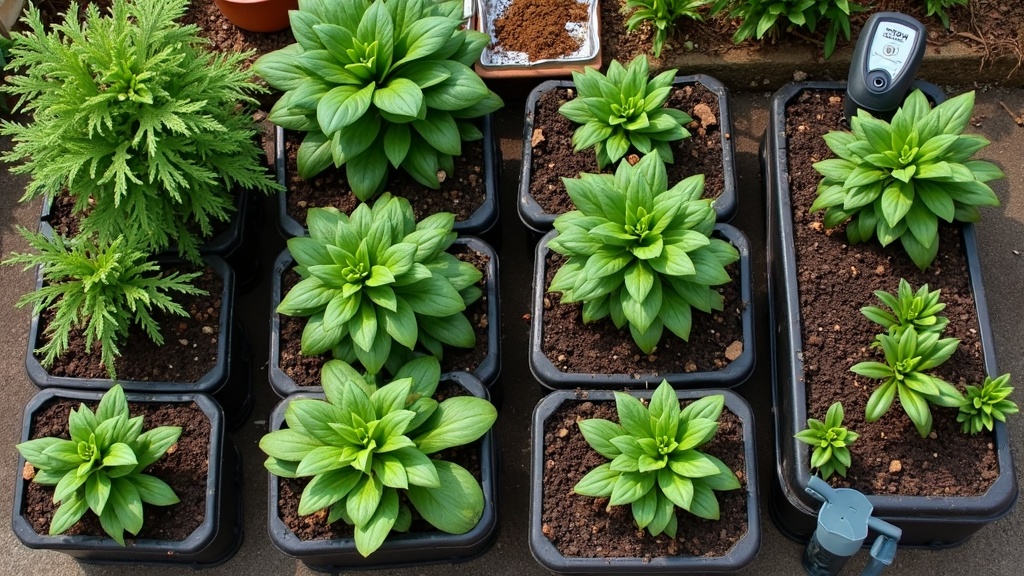
- Soil pH Meters: Digital meters are reusable and give a quick reading after you insert the probe into moist soil. These are pretty handy if you’re testing several containers.
- Laboratory Soil Test Kits: For more accuracy, you can send a sample to a lab. This might be overkill for most container gardeners but is useful if you’re troubleshooting persistent issues or just want maximum peace of mind.
I like using a simple pH meter since it’s nearly instant, and I get to check all my pots as often as needed, especially at the start of the season or when plants look stressed. For younger gardeners or kids, test strips can be a fun and easy introduction to observing the science happening right in your garden.
How to Adjust Soil pH: Raising and Lowering Safely
If you tested and found your container mix is outside the ideal range, you’ve got options to bring things back on track. Here’s how I usually approach it:
- To Lower pH (Make More Acidic): If your soil is too alkaline (above 7.0), you can use things like elemental sulfur, peat moss, or even coffee grounds. Sulfur lowers pH gradually. Peat moss is especially useful at planting time because it improves the soil structure too. Coffee grounds work for mild pH drops and are a sustainable choice if you already brew at home.
- To Raise pH (Make More Alkaline): If the soil is too acidic (below 6.0), try adding garden lime (ground limestone) or wood ash (use sparingly). These both increase pH, but lime is easier to control and less likely to cause big swings. With either, even distribution is key, so mix thoroughly and retest as you go.
Always add amendments in small amounts and retest after a week or two. Containers are smaller environments than garden beds, so changes happen faster. It’s really important not to dump in large amounts at once; you want steady, gentle adjustments. If you want to keep things organic, look for organic certified amendments or make your own compost as a supplement. Over the years, I’ve noticed that gentle tweaks produce less plant shock and better results.
Steps to Balance Soil pH for Container Gardening
- Test Your Soil pH: Use a pH meter or strips as described. Test soil from several spots in each large container for the best average reading. This gives you a more accurate picture and helps catch problem pockets early.
- Research Your Plants’ pH Needs: Most popular container plants like tomatoes, peppers, lettuce, roses, and annual flowers are happy around pH 6.0-7.0. A quick search can confirm specifics for your crop, and printed plant tags often list preferred pH.
- Add Amendments Gradually: If adjusting, start with a quarter to a half the recommended dose on the product label, mix it into the top few inches of your container, and water well. Wait and retest before adding anything else. For stubborn soils, you might need two or three rounds of minor adjustments over a month.
- Keep an Eye on Water: Your tap water can affect soil pH over time; hard water (high mineral content) can make soil more alkaline. Using rainwater or distilled water can help keep things steady, especially if you notice pH creeping upward. You can get your tap water tested by many city utilities or simple kits.
- Leach the Soil If You Add Too Much: If you ever overshoot and the pH swings too much, running a lot of plain water through the container can flush out excess amendments. Just make sure your pot has good drainage and allow it to dry slightly before adding new amendments or planting again.
This method has worked for me with everything from dwarf fruit trees to patio tomatoes, and it helps avoid the headaches of nutrient locks or unhealthy plants. Making pH management part of your regular garden rhythm takes the guesswork out of troubleshooting bad growth later in the season.
Common Challenges and How to Tackle Them
Balancing soil pH isn’t usually complicated, but a few hiccups can pop up here and there. Here’s what I’ve run into most often:
- Mixing Potting Soils: Some bagged mixes come pre-amended, while others are pretty neutral. If you’re mixing bags from different brands, test the pH after blending them together. Even within the same brand, mixes meant for seed starting or cactus might have totally different pH.
- Adding Too Much Fertilizer: Overfertilizing with products high in ammonium or urea can acidify the soil. Stick to balanced or organic fertilizers and use them according to label directions. A mild fertilizer regimen reduces chances of sudden pH swings.
- Not Retesting After Changes: It’s easy to forget, but retesting a week or two after adjusting pH keeps you from unknowingly going too far in one direction. A simple log or phone note can help you track changes.
- pH Drift Over Time: Nutrient buildup, regular watering (especially with tap water), or decomposing organic matter can all nudge pH up or down. Check your containers a few times each growing season for best results. Ideally, test after big weather events or before and after major fertilizer applications.
Pitfalls to Watch For
Sometimes I get a little impatient and want to fix issues fast, but it always pays to take it slow when adjusting pH. Overdoing it can leave plants more stressed than before. Also, swapping out half the old soil for fresh mix at the start of each season works wonders for long-term stability, since nutrients and organic amendments deplete as the months go by. If you’re growing perennials, a top-off of fresh mix each spring keeps both pH and overall structure in top shape.
Tips for Maintaining the Right pH All Season
Once you’ve got your pH in the right spot, keeping it there is mostly about regular (but not obsessive) checks and not making big, sudden changes. Here are a few things I do:
- Top-dress with compost or organic mulches. These usually hold your pH steady and improve moisture management, which levels out other variables too.
- Water with rainwater when you can. It’s usually more neutral and won’t affect soil pH the way hard tap water can. If you live in a dry climate, even collected water from dehumidifiers can help.
- Repot or refresh soil annually for perennials and bigger containers. Old soil can get depleted, compacted, or build up salts, which might switch up pH.
- If you grow acid loving plants, keep a bag of peat moss or sulfur on hand for seasonal tweaks. Layering peat on top and letting it work in slowly is a gentle approach.
Maintaining pH shouldn’t be stressful. By setting a routine—maybe just adding it to your monthly garden checklist—you’ll catch changes early and keep things simple.
Frequently Asked Questions
Here are a few things I get asked most often when it comes to soil pH and container gardening:
Question: What’s the easiest way to check soil pH in containers?
Answer: A digital soil pH meter is the most convenient for most people since you can just stick the probe in and get a reading. Strips work too, but just make sure your soil and water mixture is about as thick as pancake batter for an accurate test.
Question: I adjusted my soil but the pH hasn’t changed much. What should I do?
Answer: Some soils take time to respond, especially with natural amendments like sulfur or lime. Make sure you mixed the amendment in evenly and check again in another week or two. If nothing has changed, doublecheck the label and add another small dose if needed.
Question: My tap water is alkaline, will it make my soil more alkaline over time?
Answer: Yes, repeated watering with high pH tap water can gradually raise container soil pH. Switching to rainwater or distilled water, at least sometimes, helps prevent this drift. You might also ask your water provider for a water quality report if you’re curious about more details.
Question: Can I reuse old potting soil next season?
Answer: You can, but it’s a good idea to mix in fresh potting mix and test the pH before planting again. Nutrients and pH stabilizers can wash out or break down over time, so refreshing is always smart.
Question: What if my plants have yellow leaves even after adjusting pH?
Answer: Yellow leaves can signal other issues like overwatering, pest problems, or nutrient shortages. Doublecheck the pH and look for other symptoms; if pH is right, you may need to look at fertilizer or root health as well.
What I’ve Learned from Balancing pH at Home
I notice that plants are just a lot healthier and more productive when their soil pH is right where they want it. Leaves look greener, growth is stronger, and pests seem to be less of an issue. Balancing pH is not about being perfect; it’s about helping plants get what they need. Start small, check your soil regularly, and you’ll see the benefits in your container garden pretty quickly. It’s super rewarding watching those little corrections pay off over the season.
More info on testing and managing soil pH can be found through resources like The Old Farmer’s Almanac and the University of Minnesota Extension. If you run into stubborn pH issues you can’t figure out, local garden centers or extension services can offer more help tailored to your area.
Container gardening is all about flexibility, and pH balance is just one piece of making your patio, balcony, or windowsill as green as possible. Happy growing!